Here is a tutorial video (in Finnish) of Elina showing how to make felted flower from Ohukainen.
For felted flowers you need hand dyed Ohukainen* (100% merino wool, 150g/m2 ) and the following tools for felt making:
- Good scissors
- Felting needle (Short Pro or Special Pro)
- Needle felting pad
- Felting mat
- Bubble plastic
- Small piece of bedsheet for rolling
- Marseille-soap
- Kettle and a bowl for hot water
*available only at Felt Faction
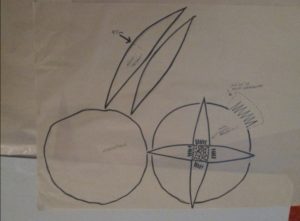
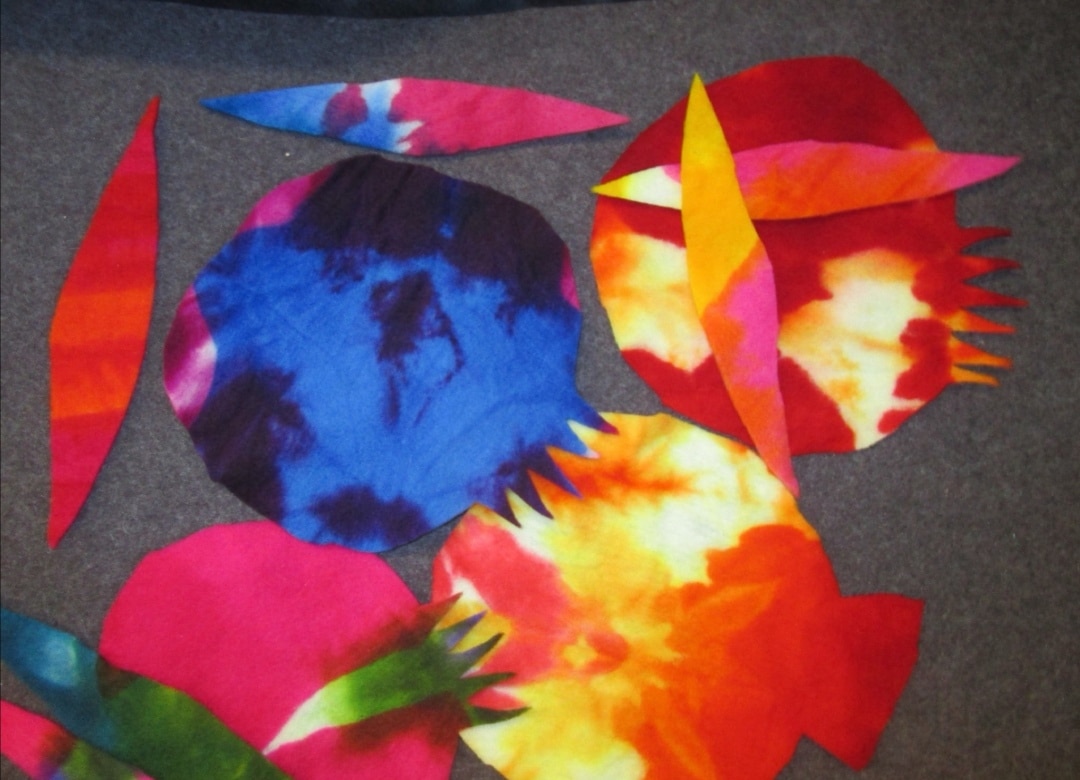
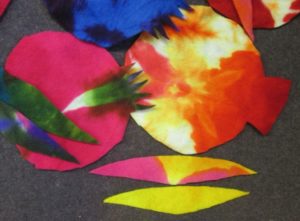
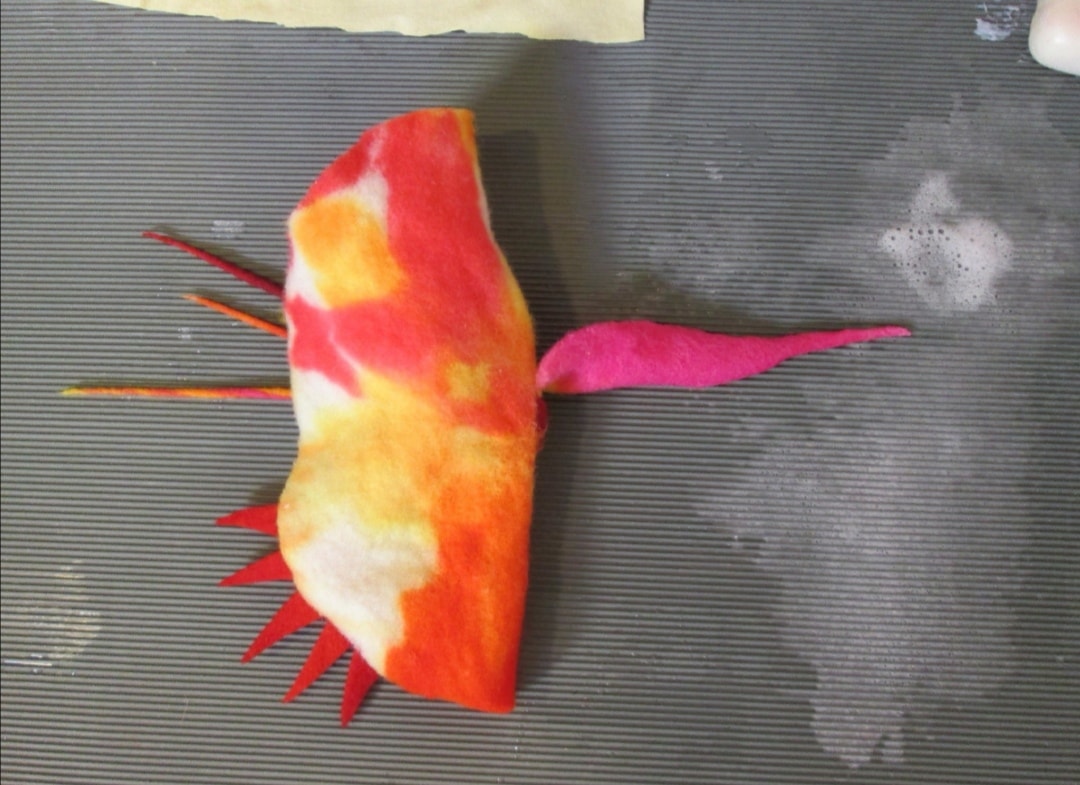
- Cut parts for flower from hand dyed Ohukainen.
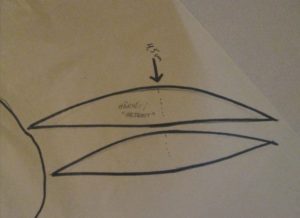
The diameter of the flower part is about 20-22cm which is also the length of the “hörhös” in the centre. Width of hörhös at the widest point is 4-4,5cm. See the pattern for the shape and notice the sharp triangle ends of the centre hörhös. If you wish to have nice and petite hörhö edge in your flower, leave “wing” for it in the edge of the flower part (shown in pattern).
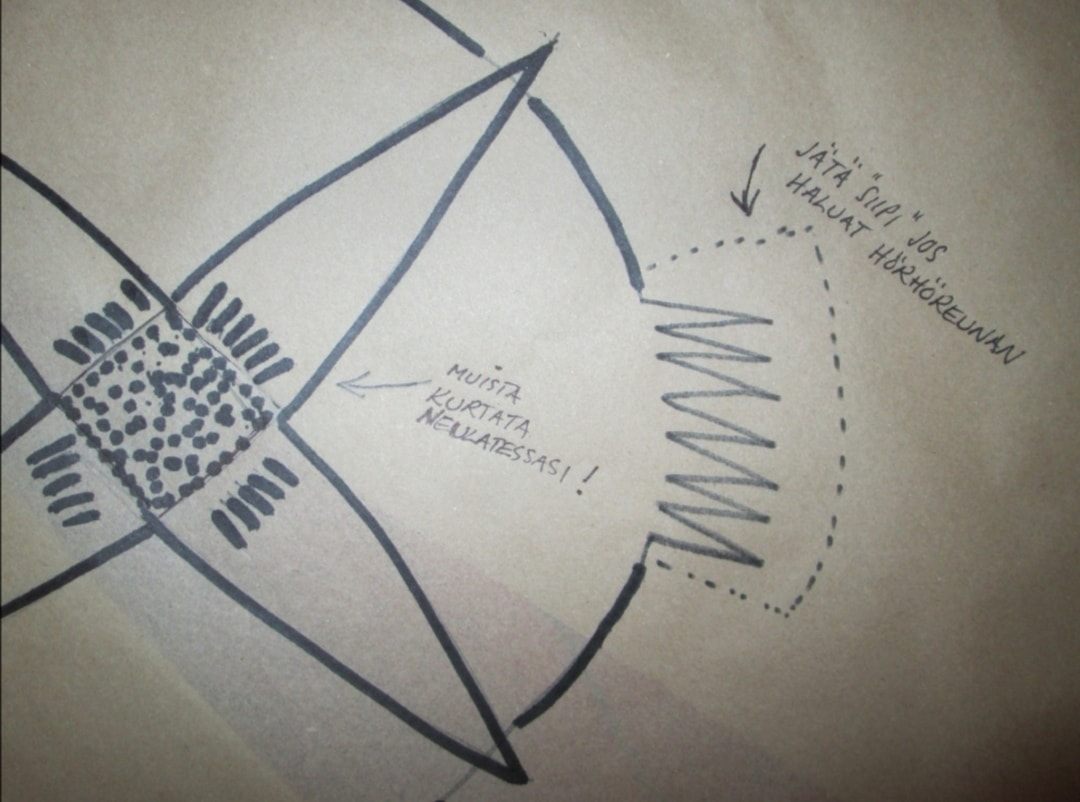
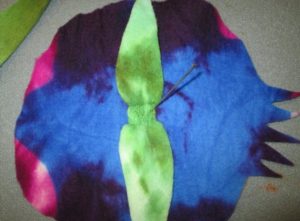
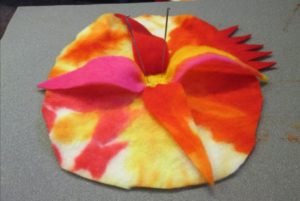
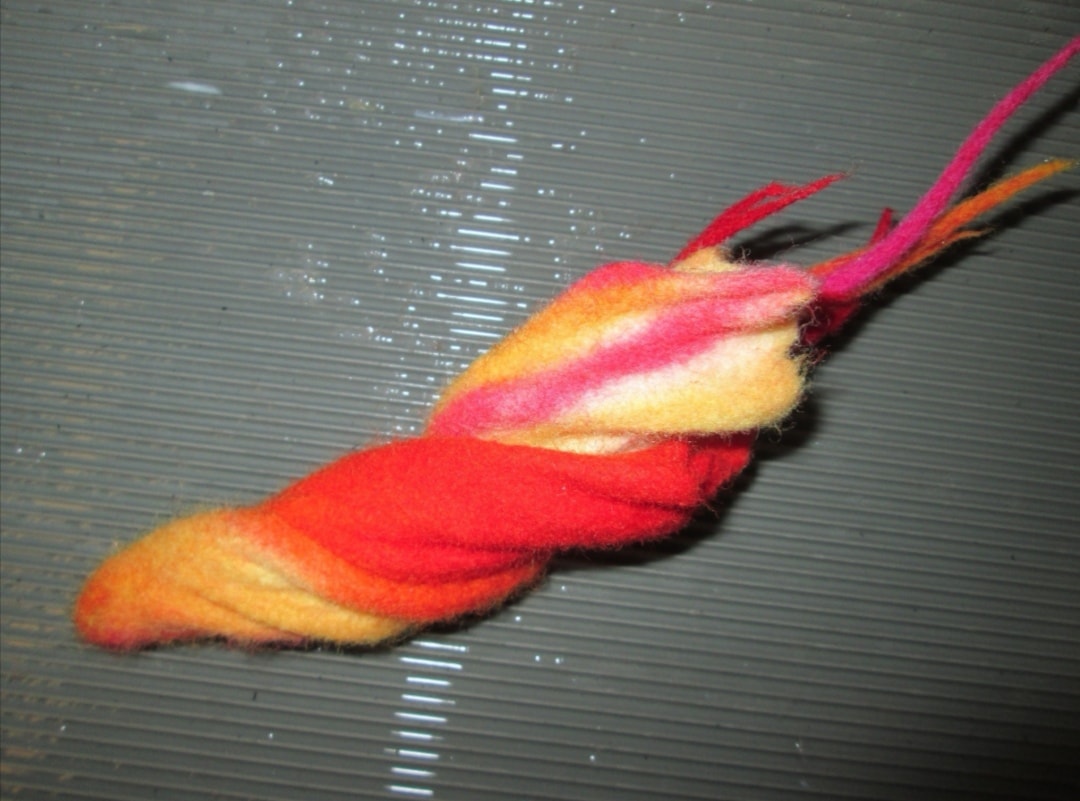
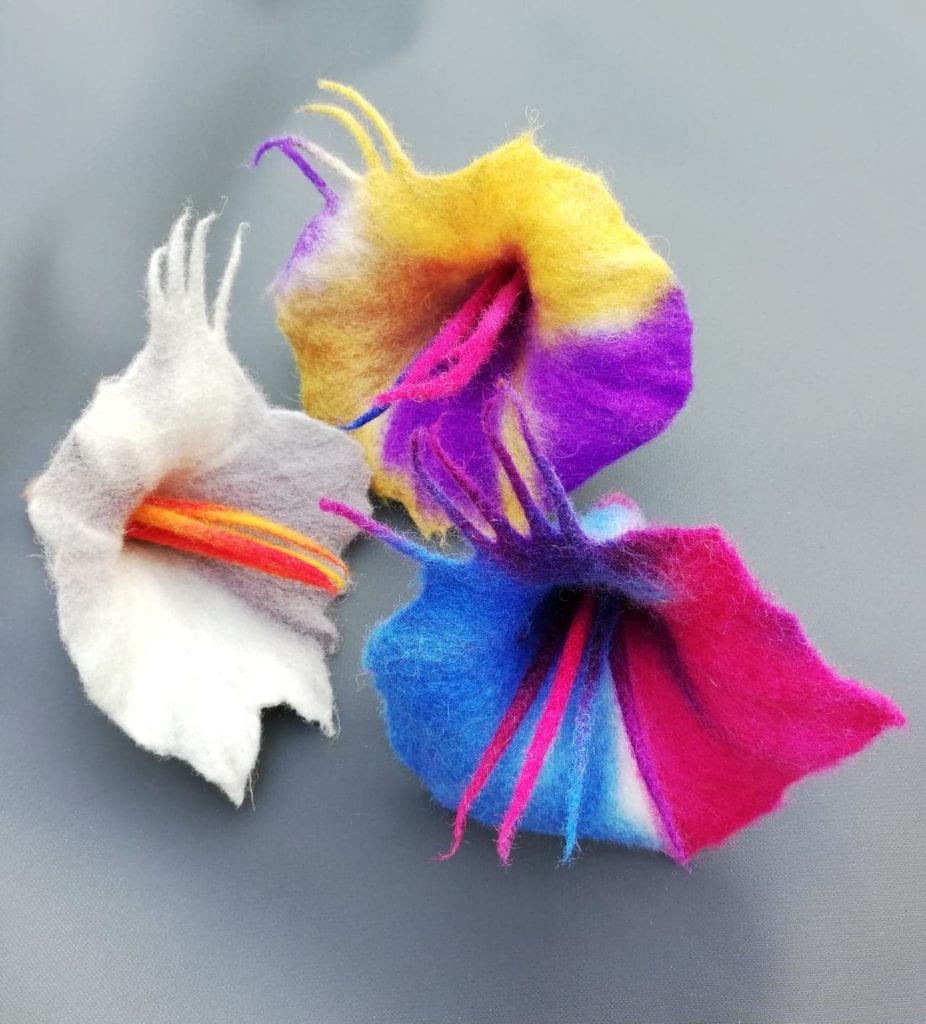
- Start building flower from the stamen.
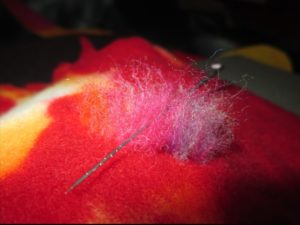
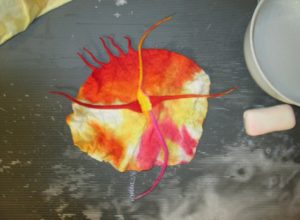
Needle punch hörhös across each other at the centre one at a time. Crunch the centre of the hörhö (but don’t make pleats) while you needle punch it on the flower part. In case the root of the hörhö is not crunched when it is attached, it will not carry the hörhö nicely when it is ready. When adding the second hörhö to the centre, make sure to needle punch it a bit over the other one from the sides, so it will attach better. Punching area should look now square. Notice also that you needle punch them thoroughly enough, so that fibres go through to the back side (see pictures). It is not necessary to needle punch with all your strength, if you are using pro needle the fibres will go through with less force and you’ll also avoid bending or breaking needles.
- Place felting mat on your workstation and start wet felting.
Start from the centre hörhös and if you have hörhö “wing” on the edge of the flower continue with that. Felt hörhös round and tight one at a time on the felting mat. You need hot water and only a touch of soap for that. The texture of the felting mat (rifled) will help you in rolling the hörhö and makes it easier for your hands. Place hörhös sideways on the mat and roll them with both hands (even if it’s just a small hörhö). Do not stretch the hörhö by rolling it outwards but guide the hörhö inwards with your hands. This way the hörhö stays even and will stand up when finished.
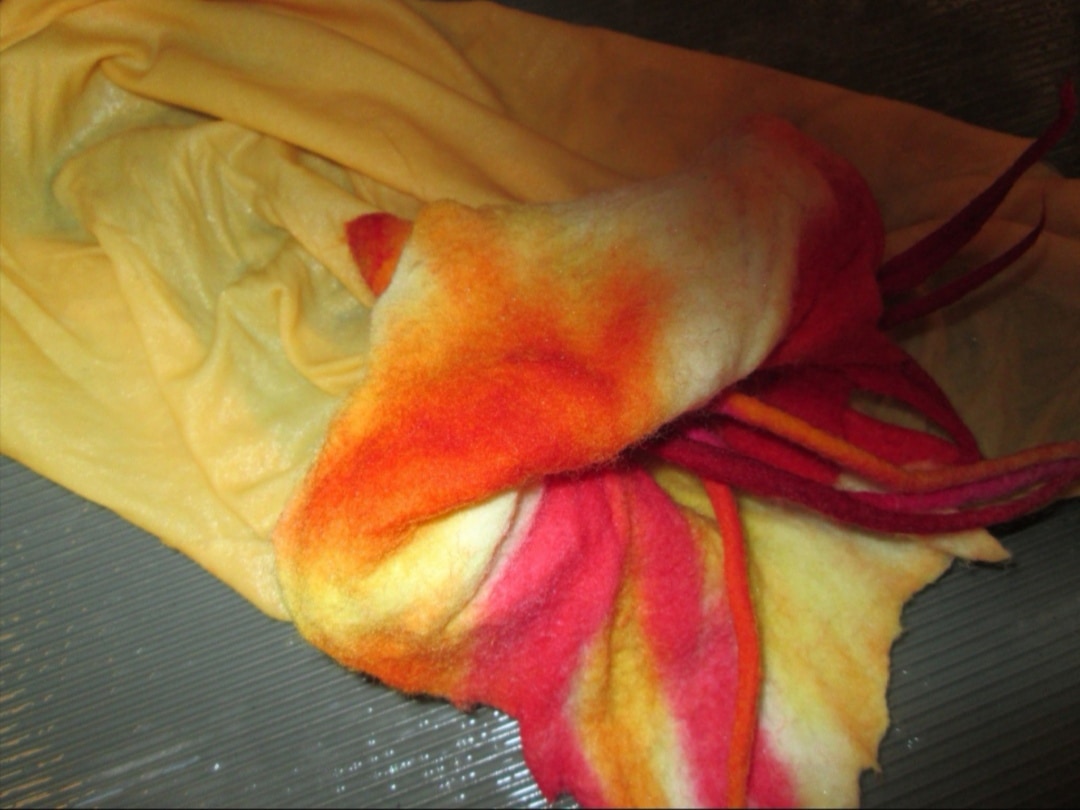
- After making hörhös, water the whole flower with soapy hot water and start felting it gently, bubble plastic on top of the flower.
At first, focus on the centre where everything is attached. Flower should be now soapy and as hot as possible. Small amount of soapy water on top of the bubble plastic will help your hands move better while preventing your hands to detach the stamen from the centre.
- Make sure the flower is still warm.
You can heat it by dipping it into the hot water and squeeze the extra water out of the flower. Start throwing the flower against the felting mat, (use both hands for this). This makes the flower felt evenly from every direction. It is important that the flower stays warm and moist – not wet. Keep throwing the flower about 20-30 times, but not too much so you’ll be able to roll it in “trumpet” form.
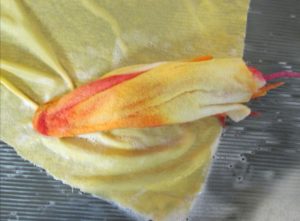
- Place your finger in the middle of the flower and press the flower into trumpet form.
Roll the trumpet inside the piece of bed sheet against the felting mat. First rolling is gentle. One rolling phase is about 20 rolling moves.
- Check your hörhös after the rolling.
If they are felted together tear them gently apart. Roll all the hörhös together – first the “wing” part and second the stamen hörhös. Dip the flower again in hot water and press most of the water out keeping the flower still moist. Roll the flower in trumpet form two more times. These rolls can be tighter, and you can use more force in them. At this point there is no reason to think about shaping the flower, that will be the last part of the process.
- Rinse the flower first with hot water and squeeze all the water out.
After hot water rinse the flower a bit longer under cold water until the fibres are closed and flower feels firm. Press all water out with force and start shaping it.
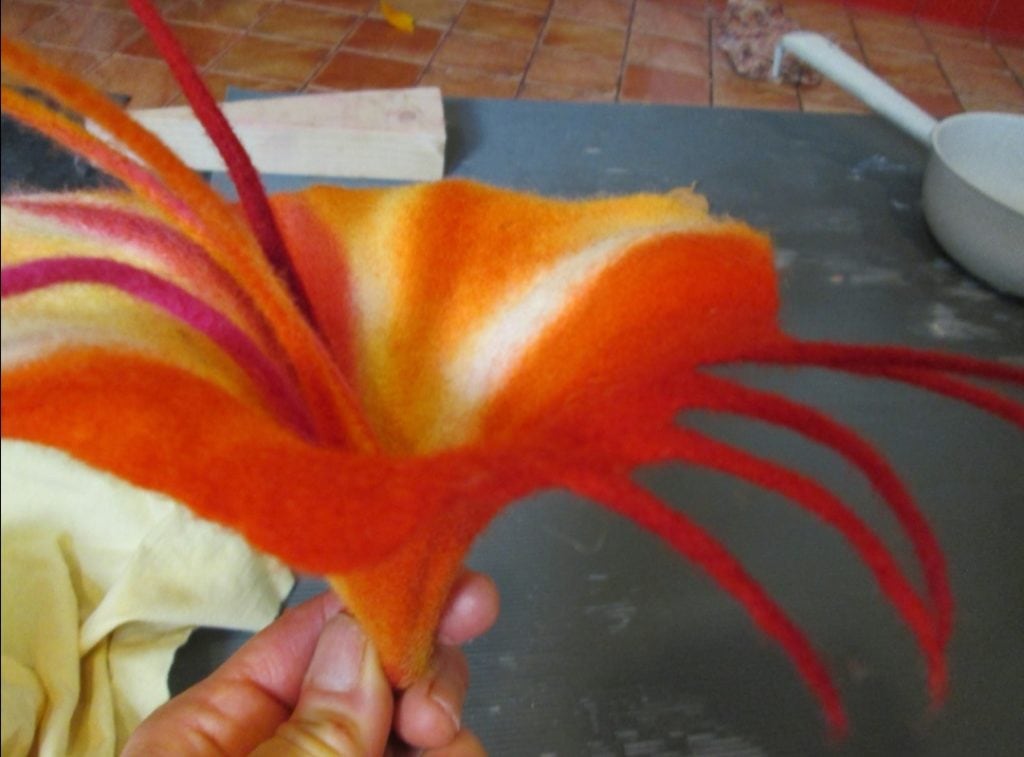
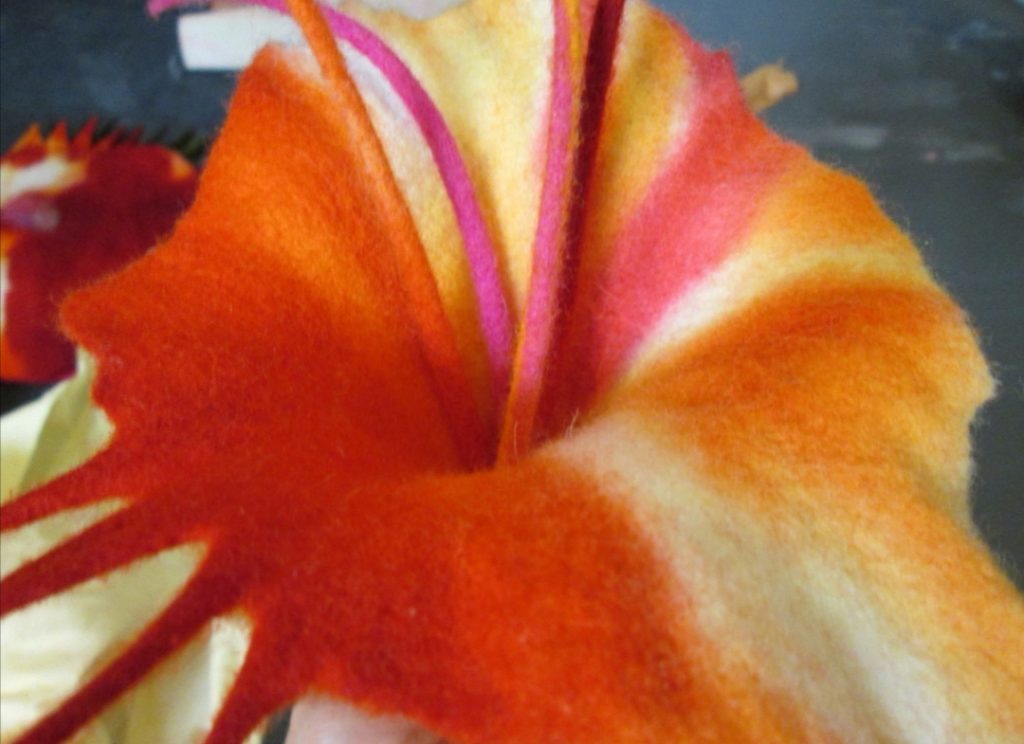
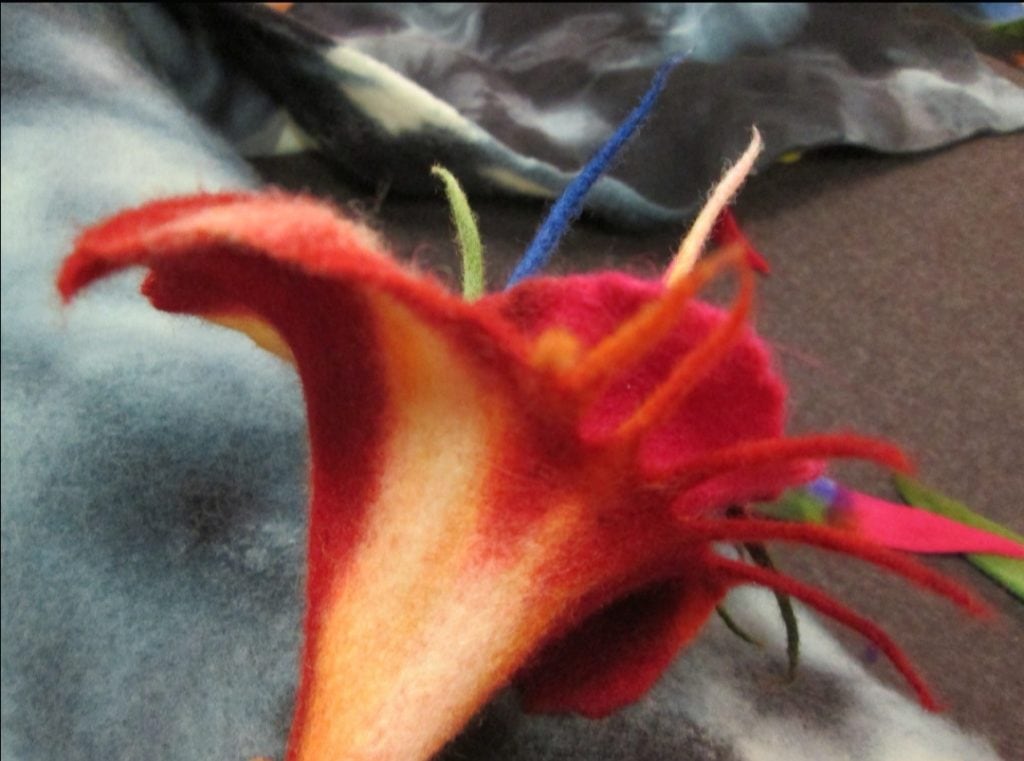
- Hold from the “root” of the flower and slide and pull each hörhö from the centre to give them nice shape.
Hold still from the root and pull the sides of the flower with your other hand. First pull up and then bend downwards. Go through the whole flower like this, always first up and then down! Trust your felt – if you have done as told and used these materials, your flower can handle this last shaping and will be worth it!
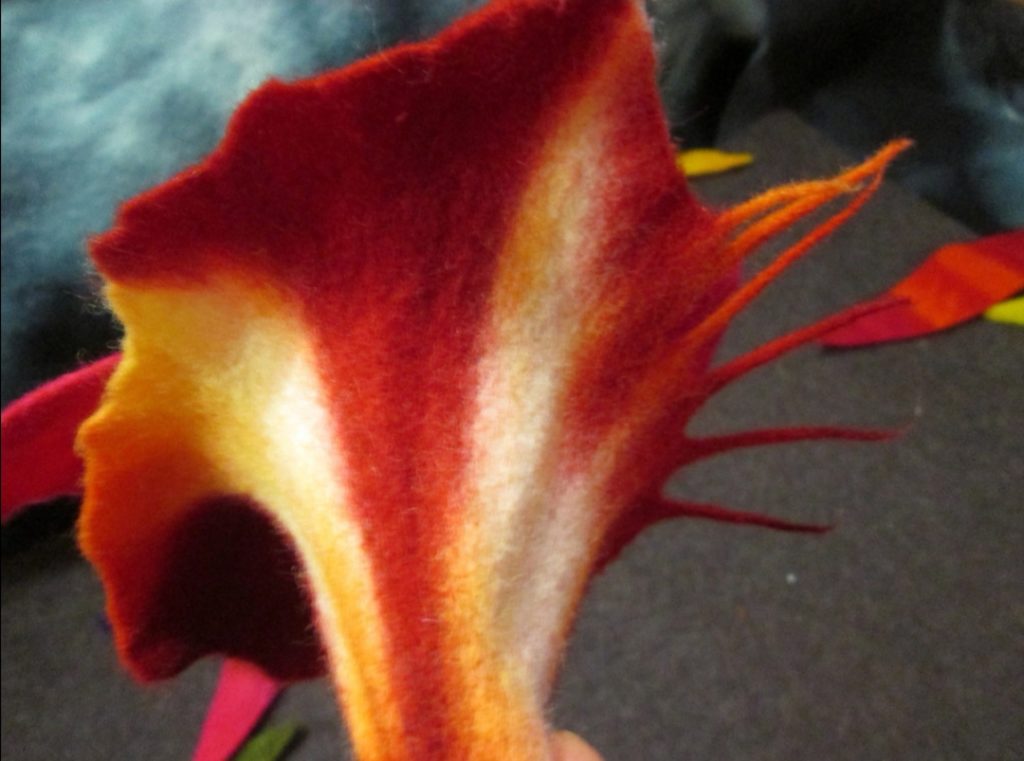
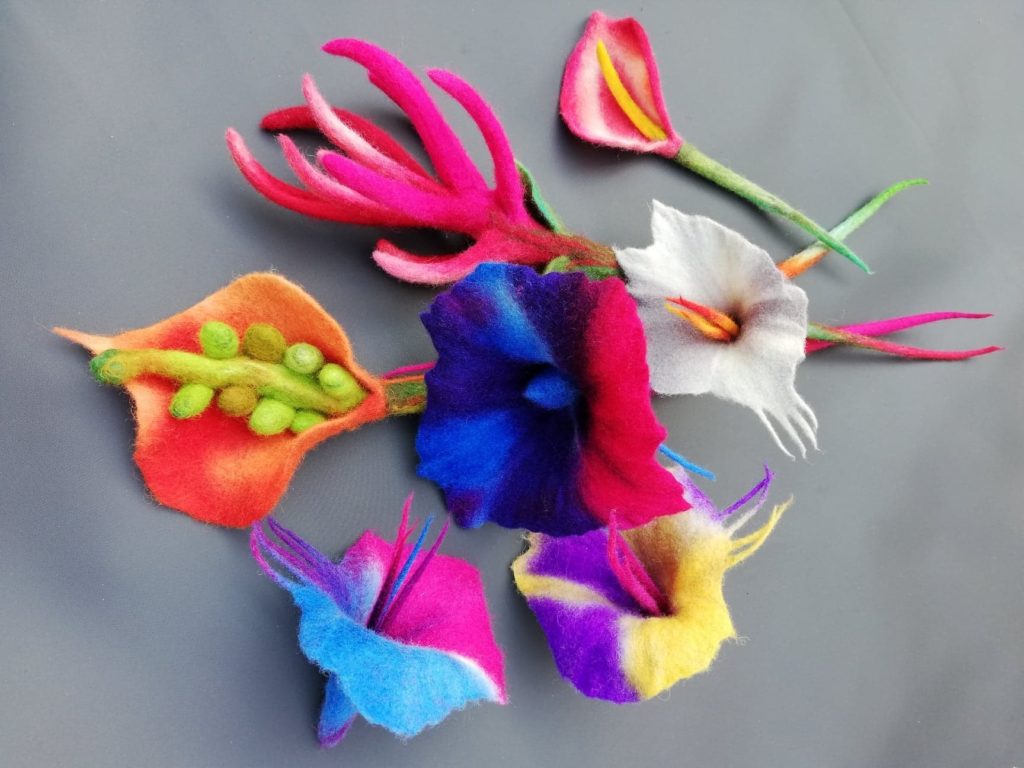
- Place your ready flower to dry. Invite your friends over for flower festivals and enjoy your beautiful work!
Tips and tricks:
- Play with the colours and shapes. The more contrast and colours your Ohukainen has the more real and stunning your flower will be!
- If the shape of your felted flower does not meet your eye in the next morning, shape it again
- Hot water + press water out + cold water + press water out + shaping
- Two reasons for “flat” flower:
- Insufficient rolling (too loose or not enough force).
- Flower is too wet after pressing all water out before shaping and the water block the shaping.
Felted flowers will last outside too! Craft felted flowers for summer parties or for winter events.
Enjoy!