You need the following materials and tools for felted boots made out of Jääkarhu. Pick your favourite colour from the diverse colour selection of Jääkarhu* (factory dyed, off white, möttled or unique hand dyed). Jääkarhu is 100% wool (750g/m2 ), 7mm thick needle felt.
- Cat brush
- Good scissors
- Sewing equipment
- Felting needle (Short Pro or Special Pro)
- Needle felting pad
- Felting mat
- Bubble plastic
- Marseille-soap
- Old towel or piece of bedsheet
- Kettle and bowl for hot water
*available only at Felt Faction
Instructions
- Cut the pattern and choose your sewing yarn based on the color of your Jääkarhu piece.
- Fold Jääkarhu, so that the fold is the sole of your boots.
ou save time and the boots will feel nicer if there is no seem on the bottom. Use the softer side of Jääkarhu on top.
- Draw the pattern on Jääkarhu.
Cut out the boots and start sewing the sides of the boots. Remember to make round ends on heel and foot from there you have the folding.
- Use normal sewing yarn doubled for the sewing.
Sew the seem tight using blanket stitch. Start the stiches from the bottom and sew until the mark (see the pattern). Notice! When your yarn ends you can start sewing back from the top towards the previous stitch so Jääkarhu won’t strech as much in the sewing process. You can leave the seams on top of the boots, you can cover them later using divided Jääkarhu.
- Use cat brush to brush the surface of the boots just a little fluffier to make it easier for fibers to attach.
Make sure to brush the seams thoroughly. Leave the upper part of the boots without brushing (the part that was left wothout sewing).
- Divide the Jääkarhu from the upper part in two.
Combine the inner parts of the divided Jääkarhu into one piece from the front seam. Cat brush the edges and place them overlapping each other. Needle punch them together and make sure the seam is now equally thick and ”paint” needle punching divided Jääkarhu over to blend the new seam. Check also the back side.
- Divide the upper back part of the boots into 4 layers.
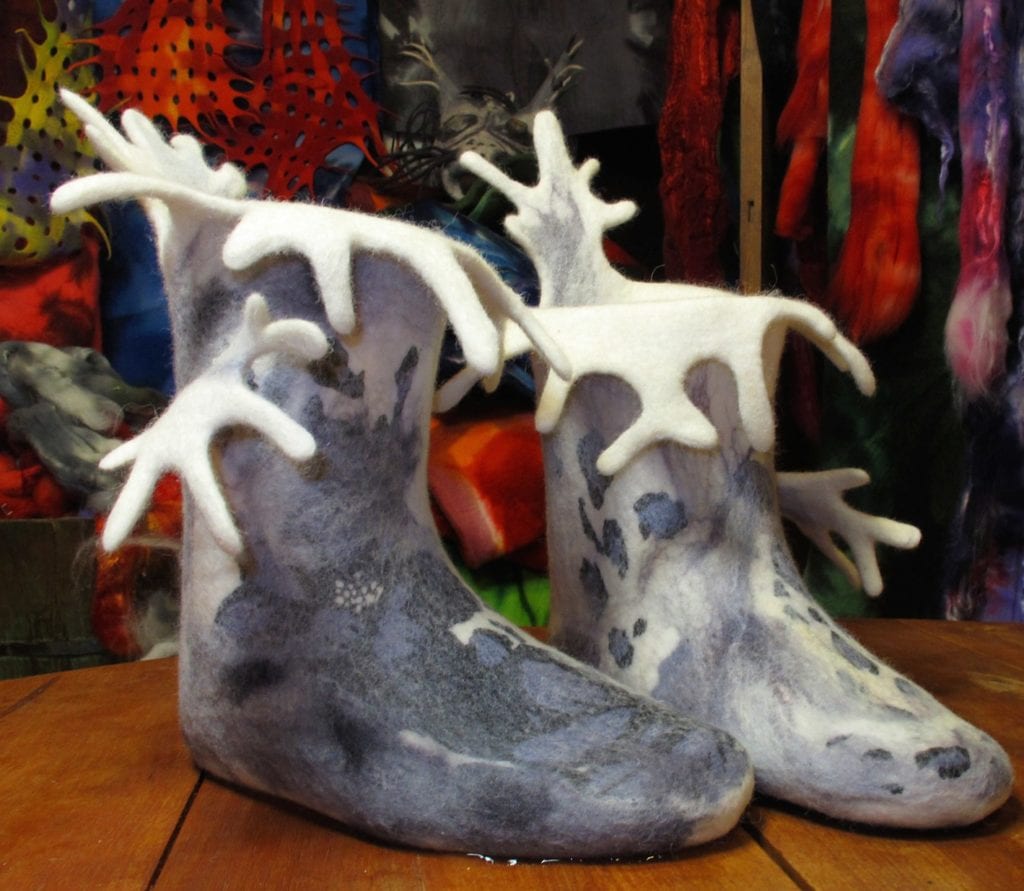
Cut petite ”hörhös” (=small triangle shapes) with sharp scissors to the layers (see pattern).
- From the extra Jääkarhu that you have left from the boots, divide it into 4 layers and use it to cover the seams.
Use the cat brush to make the layers more fluffier and make sure the edges of the pieces are not straight. Needle punch thoroughly these pieces over the seams.
- NOTE! If you are making just plain felted boots out of Jääkarhu, you can skip parts 6-8.
When you are sewing your boots, sew both seams (front and back), cat brush the boots and cover the seams with divided Jääkarhu (use one of the 4 layers). Notice also the shape of your pattern.
- Begin wet felting.
Start with making one of the boots completely ready. Felt making starts from the ”hörhös” (small triangle shapes). Roll hörhös tight on the felting mat. You only need just a few drop of hot water and a touch of soap. Keep the rest of the boots dry at this point.
- Place the boot on top of bubble plastic (bubbles towars the boot).
Sprinkle hot water and soap on top of the boot so that there is hot water over everything. Place another hand inside the boot and other hand on top. Use bubble plastic on top hand so you won’t break anything from the surface. Go through the whole boot ”hand-under-hand-on top”. Use a lot of soap and hot water when doing so. If you have any Nuno on your boots, you start attaching that first.
- Go through the boot now ”hand-under-hand-on top” without the bubble plastic.
Make sure that everything is warm and soapy. You can shape the heel by using your soapy fist inside the boot. Check every seam and attachments so that everything is staying on place. At this point you can still fix the felt if needed.
- Press all the water out from the boot.
Heat the work if needed (you can dip it in the hot water and press the water out). Throw the boot in a bundle form against the felting mat about 50 times. Use more strenght in throwing as you go along. When thworing the boot will felt in every directions evenly, so make sure you throw it from all sides and keep the boot moist and warm. Not cold and not fully wet! After the throwing go through the boot again with soap and hot water ”hand-under-hand-on top”
- Roll the boot inside the piece of bedsheet or towel until the boot is finished.
Boot will felt always from where you make the roll, so make sure you roll from all different directions (back, front, up, down etc). Try on the boot and felt it on your feet. If the boot needs to felt more you can roll it more or throw it, whatever works for you to make it smaller and felted. The more hot is the water that you’re using the better the boot will felt. Between rollings go throught the boot ”hand-under-hand-on top”. Remember to use plenty of soap!
- Boot is ready when it holds the water inside!
It is then firm and fits perfectly on you. Rinse it keeping in on your feet, first with warm water to get all the soap away and then with cold water. Cold water closes the fibers and makes the boot more firm. You can also shape the boot by pulling it more up. Remember to shape also the hörhös from the back. When the boot is well felted it will stand even rougher handling!
Place your boot to dry, for example to sauna, drink a cup of tea and start the next one. Remember to shape it on the other feet. Enjoy!